

How To Install Neon Lights Under Car
Take yous always been to a car show and seen those colored lights below the car? These neon lights can exist used to give your motorcar a unique aureola as you bulldoze through the nighttime.
With advocacy of LED technology, these kits have become less expensive, and you tin select whatever colour you desire. Depending on the type of kit yous get, installation can be as easy as sticking the LEDs onto the car with tape and plugging everything in while other kits require may require extensive drilling.
With this in mind, it's recommend to become for a kit that uses a strip of LEDs rather than tube kits. You can utilise double sided tape on the strip to requite you more options of where to mount the light. On the other hand, tube lights typically crave holes to be drilled in order to mount them - limiting your options underneath the car.
LED kits are ordinarily designed the same fashion, with 2-4 lights, a junction box that distributes the power to the lights, and the command box which is mounted in the cabin so y'all tin turn the lights on and off hands. This commodity volition guide you on how to install a neon light kit on your car.
- Annotation: Earlier installing the kit on the machine, read the instructions and plug everything in an outside electrical source. Test to brand sure the lights piece of work before you lot get through the trouble of installing everything. You want to make sure the kit isn't defective before y'all go through with installing it.
Function ane of 3: Installing the lights
Materials Needed
- Drill
- Double sided automotive tape
- Heat gun
- Heat shrink tubing
- Jack
- Jack stands
- Marking
- Screwdriver
- Silicone sealant
- Solder
- Soldering fe
- Wire cutter
- Wire stripper
-
Zip ties
-
Notation: Refer to the kit'southward instructions to get the right size drill bit for the mounting brackets.
-
Annotation: You may not need all of these tools depending on what kind of kit you ended upwards ownership. Most LED kits have the connectors already installed on the wires so y'all simply demand to plug everything together. If y'all cease up ownership a kit where you lot need to brand the connections, you will need the heat gun, heat shrink tubing, soldering iron, solder, wire cutters, and wire strippers.
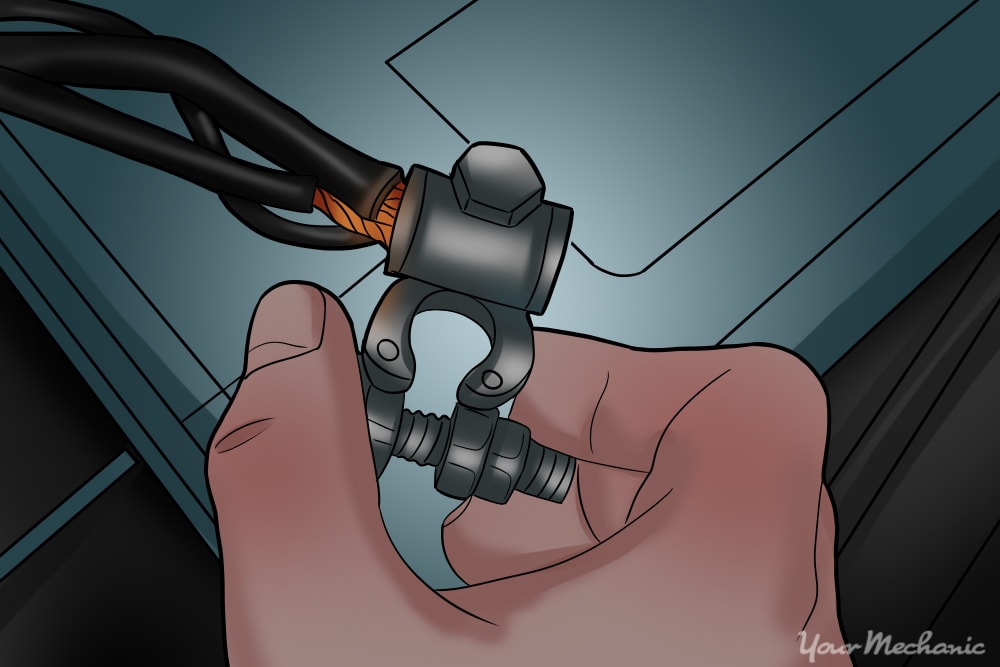
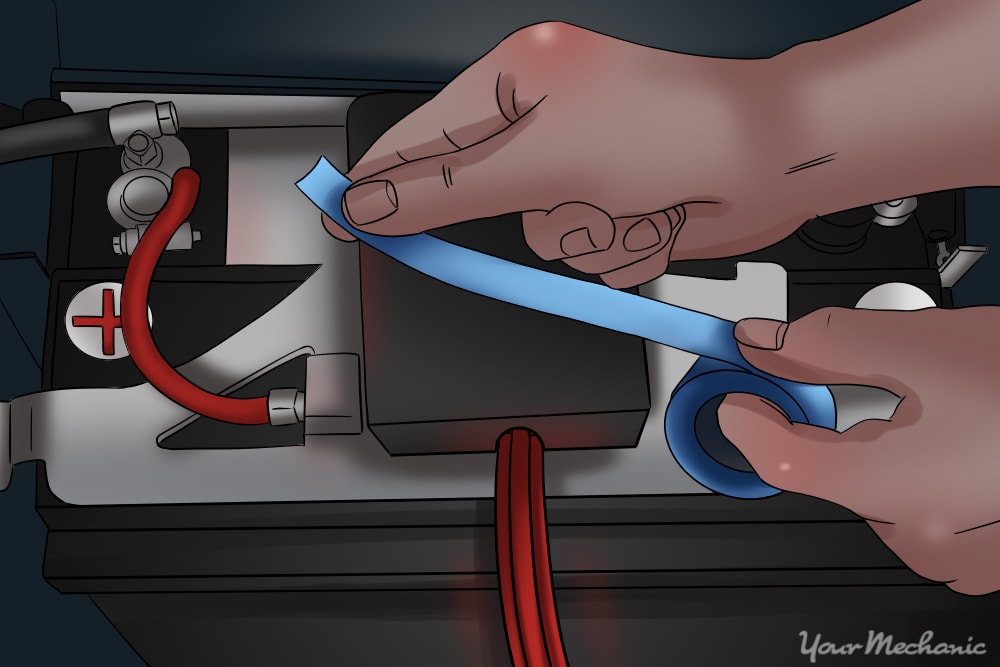
Step 1: Disconnect the negative terminal of the battery. The battery will need to be off when we're plugging the junction box and other cables into the machine's power.
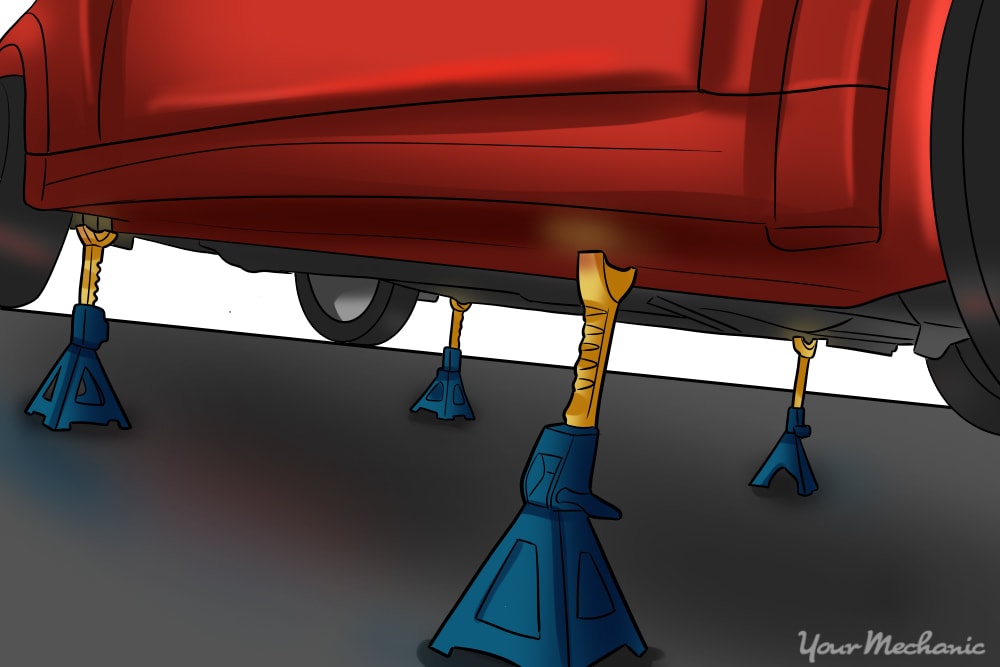
Step 2: Lift the auto onto jack stands. On a flat, level surface, use your jack to lift the automobile and place jack stands underneath to concord the car upwardly while yous work underneath.
It is best to lift all 4 corners of the car so you have plenty of space to move effectually.
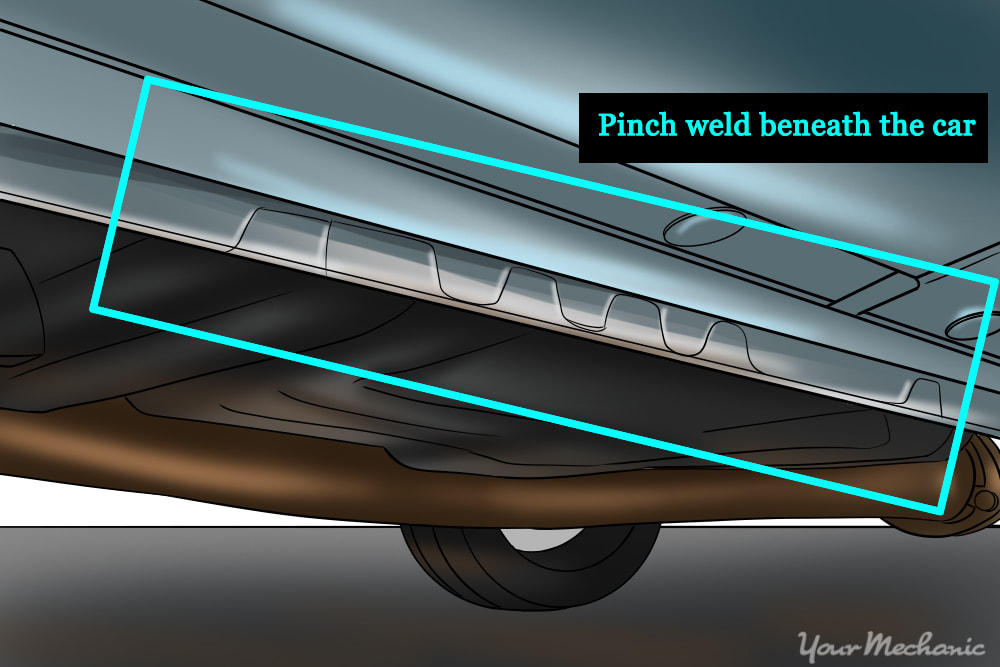
Pace 3: Locate some mounting locations. Concur the lights upwardly to try and find some secure mounting locations.
Mounting locations volition slightly vary from automobile to auto, but in general, you lot will desire to locate a apartment surface that can adapt the unabridged length of the light.
Mark some spots downwards for the brackets.
- Warning: Make sure you lot don't drill into something of import when making the holes. The inside of the pinch weld usually works well, just keep the lights away from the elevator points near the wheels. Also, make sure the lights aren't most heat or any moving parts such every bit the break, exhaust, or driveshaft.
If y'all are using double sided tape to secure the lights, make sure that the surface is clean and dry out earlier applying the lights onto the car. Grit and moisture volition lessen the strength of the adhesive and may cause the lights to autumn while in motion.
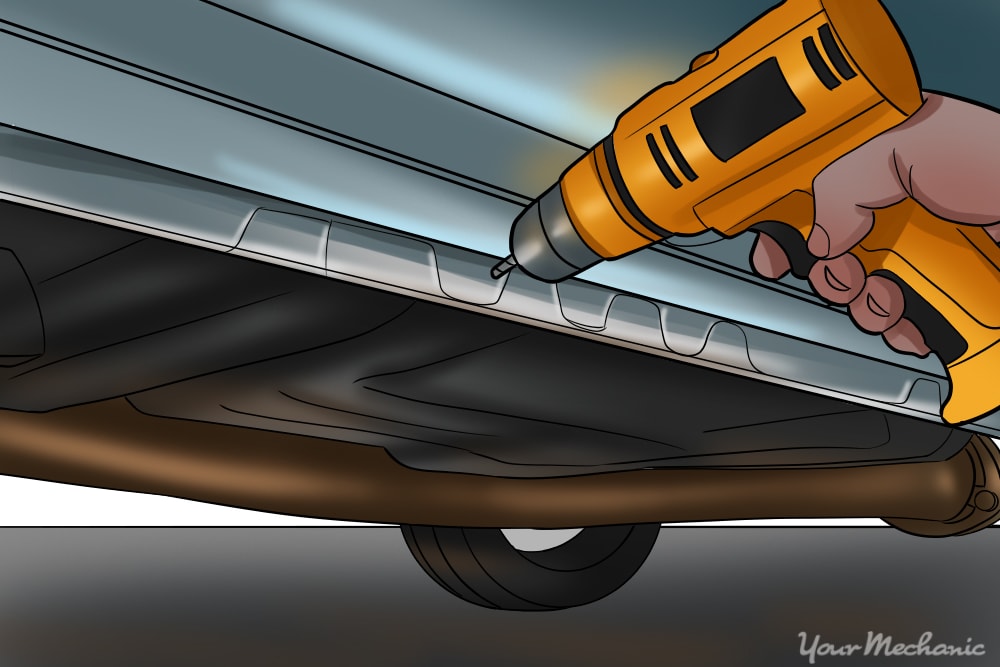
Step 4: Drill holes. After you've surveyed a location to mount the lights, apply the drill to make the holes for the mounting brackets.
If using tape, apply a strip to the full length of the LEDs.
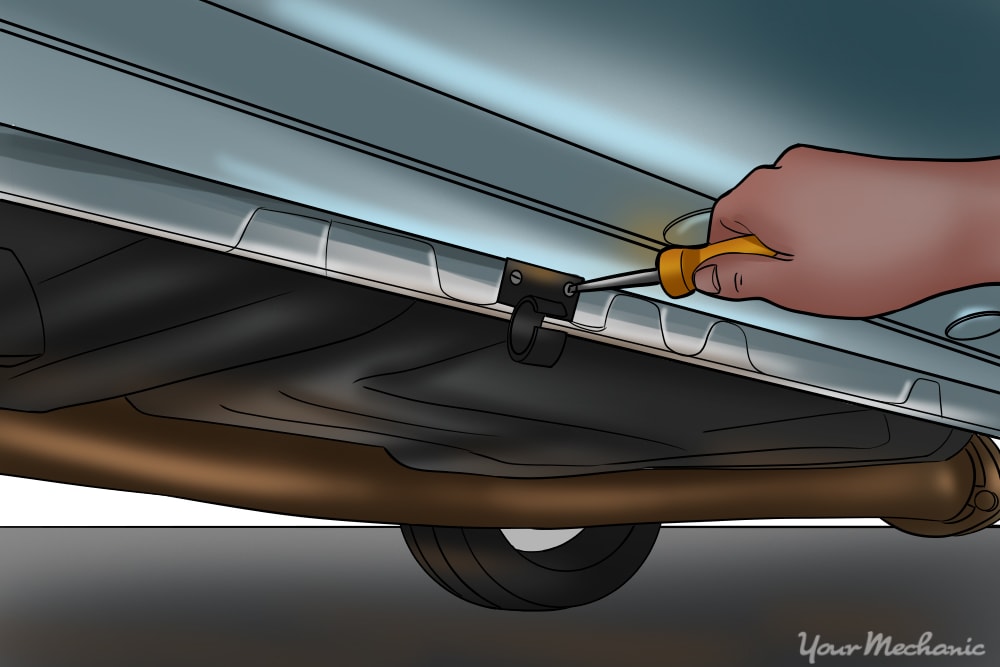
Footstep five: Screw in mounting brackets. Screw the mounts into the holes which yous take just drilled.
Make certain to tighten them down then the lights are secured and will not motion around.
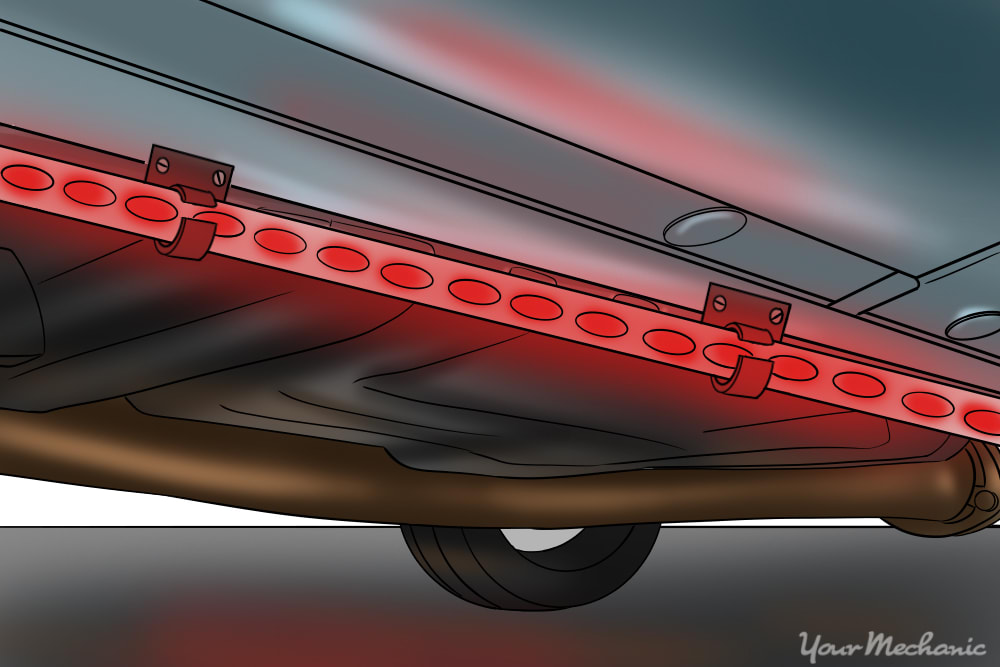
Step 6: Install light into brackets. When using mounting brackets, it is recommended that you use a zip tie on each subclass to aid keep the calorie-free secure.
- Tip: Orient the lights then that the cables are going to the forepart of the vehicle so you'll have enough of slack when hooking everything up.
If using tape, adhere the lights to your clean, dry surface. Apply pressure onto the whole of the strip and so that the whole light sticks.
Step vii: Repeat for all lights included. If you lot have multiple lights that you lot are installing, echo this process for whatever other lights that you have.
You typically will want to become for symmetry, then have the lights at nearly identical spots beneath both sides of the machine.
Part 2 of 3: Installing the junction box
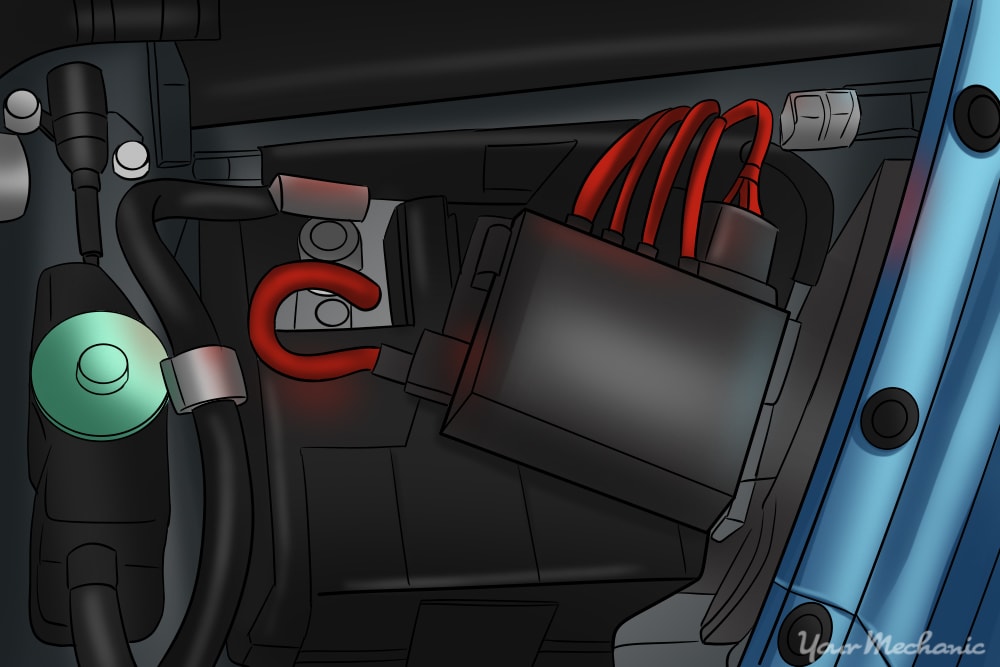
Stride one: Locate an surface area under the hood for the box. Like the lights, keep it away from heat and moving parts. The battery is ordinarily a good spot to mount the box and then that yous are close to the power.
Stride ii: Run the light'southward power cables to the engine compartment. Utilize zip ties to secure any loose cables and go along them away from heat and movement again.
These accept to plug into the junction box so route them so they end up near your chosen mounting spot.
Step three: Mountain the junction box. Make sure the surface is clean and dry before applying the record. Using record here means you can reposition the box if necessary and is safer than drilling into parts under the hood.
Step four: Connect lights to the junction box. Plug in all the calorie-free's ability cables into the junction box. Apply a thin layer of silicone sealant to aid protect the excursion from water.
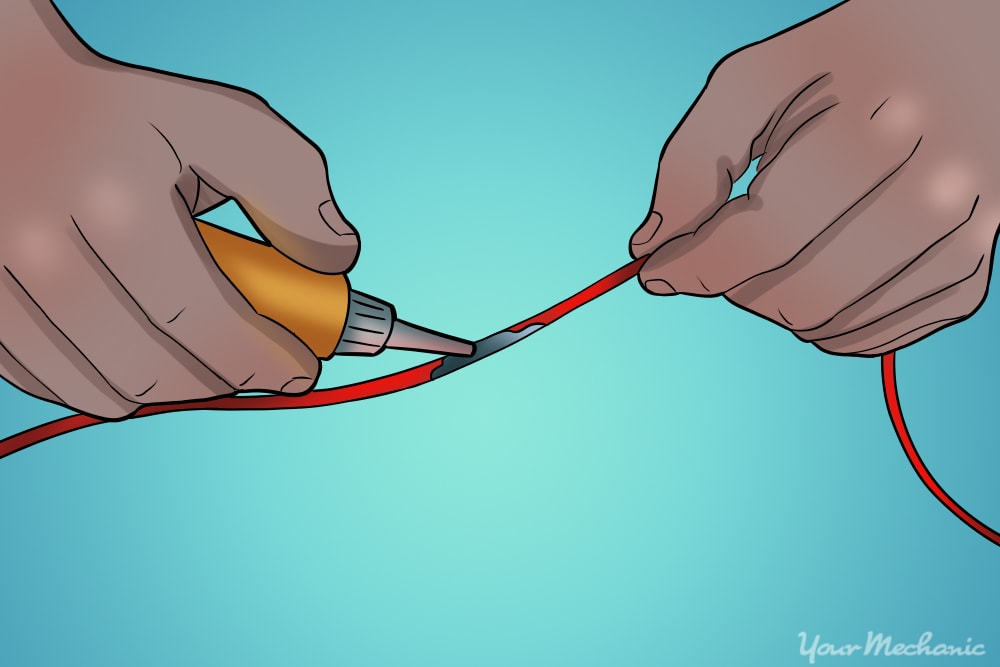
- Tip: If you have to solder the connections, be sure to put a department of heat shrink tubing on the cable earlier you lot solder them together. A trivial silicone sealant can assistance protect these connections as well.
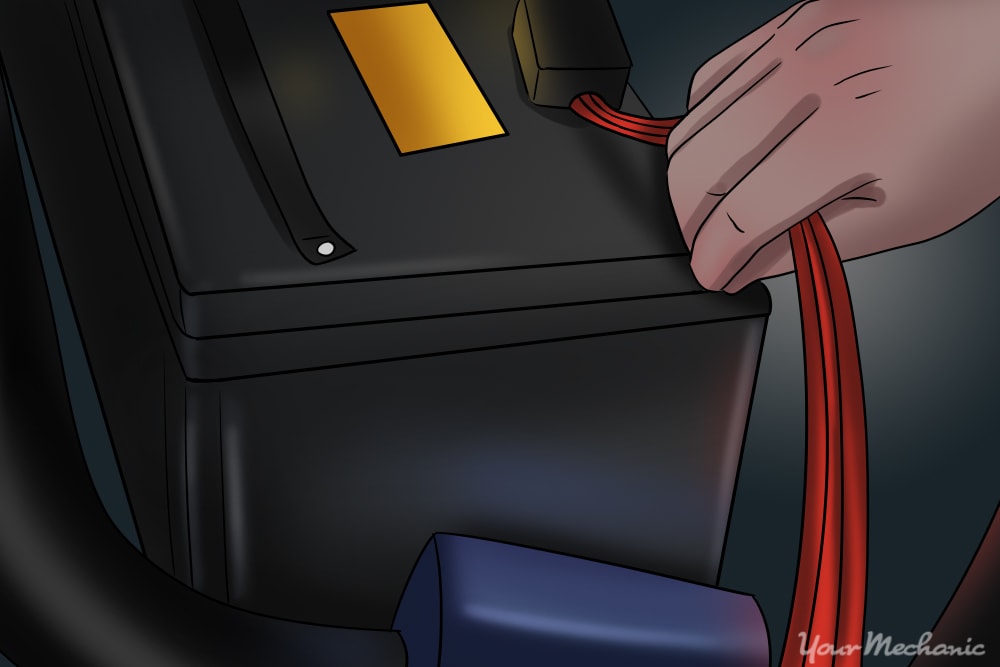
Footstep 5: Connect the power cable for the whole system. This step will vary depending on how the calorie-free kit is designed.
Some kits volition hook straight into the car's battery with an inline fuse to protect the circuit. This kind of kit will likely have the power get into the junction box. If this is the instance, go ahead and claw the power upwardly.
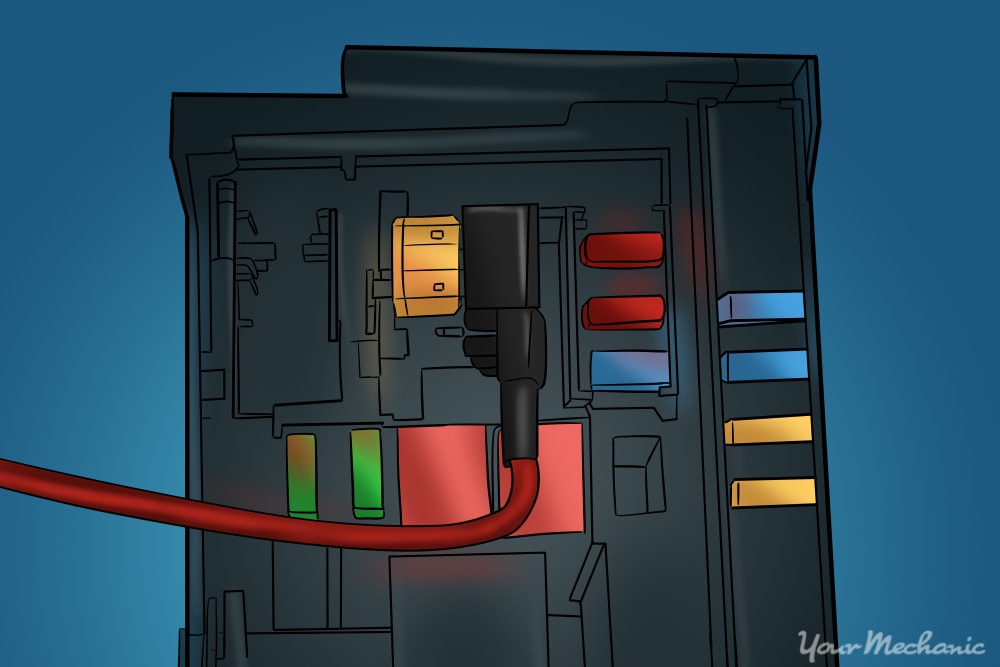
If your light kit gets power through the fuse box, y'all will want to wait until the control box is setup to connect the power. If this is the case, skip this footstep for now until the control box is setup in the adjacent part.
Function 3 of 3: Installing the control box
Step 1: Locate the hole in the firewall that goes to the interior of the car. Many cars will have a hole that connects the engine compartment and the interior of the car.
In that location should be a rubber grommet to protect from dust and noise. In that location should also be a hole in the grommet where you tin stick a cablevision through information technology.
If there is no hole, you will accept to create your own. Brand sure it is large enough for the connector to pass through and make sure you don't drill through anything important.
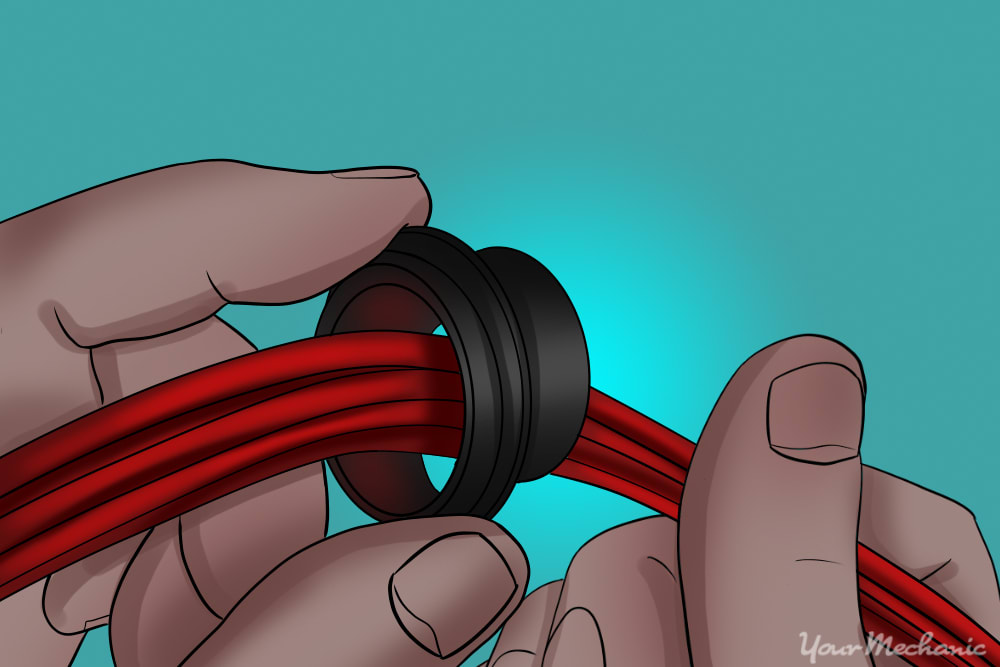
Step 2: Remove the grommet and wrap around the command cable. Run the cablevision through the hole and replace the grommet.
Now we have our connection from inside the motel to the junction box under the hood.
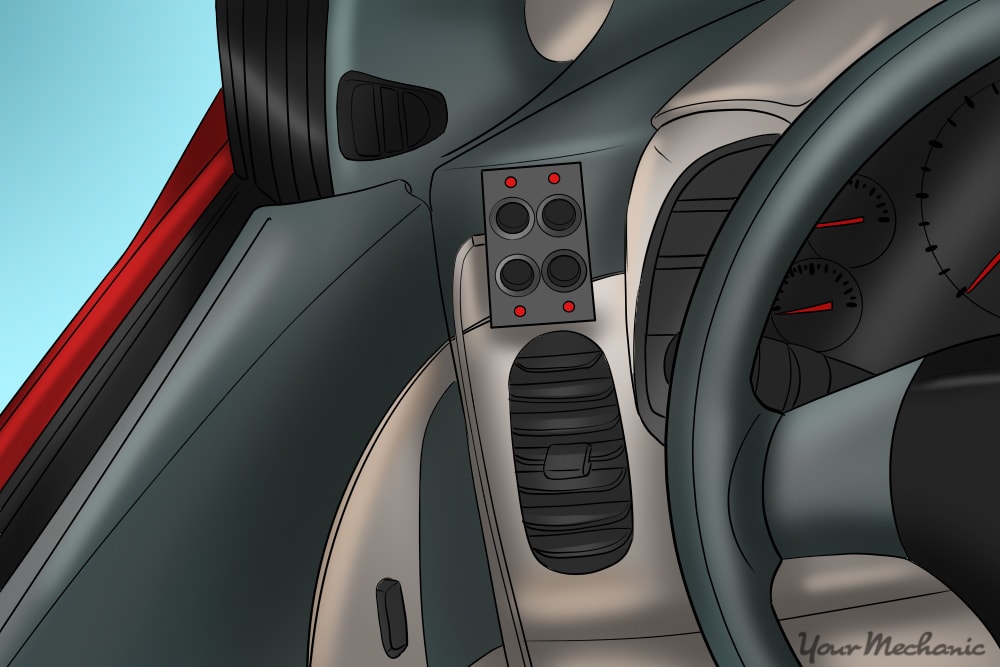
Step 3: Find a place to mount the control box. You'll likely want it inside arms attain while in the driver's seat so that it is easy to turn on and off.
Secure it with some more double sided tape so it doesn't move around.
- Notation: If you didn't plug in the ability cable earlier, become alee and plug it in now. Similar I mentioned, these kits use power from the fuse box then in that location is some circuit protection. Brand certain to read the instructions and use the right fuse otherwise the lights may not part properly.
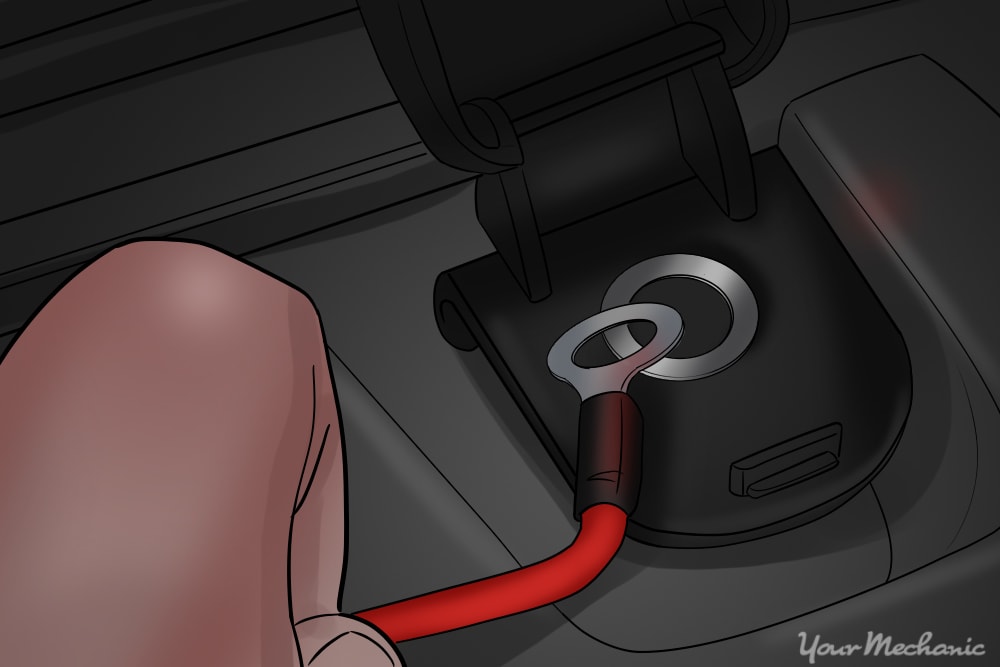
Step four: Find a suitable location for the ground cable. Any unpainted metal underneath the car is normally a practiced source of ground.
You tin can also drill your ain hole if you can't detect a bolt to disengage to secure it to.
Stride 5: Make whatever other necessary connections. Depending on the kit you bought, there may be some more connections that demand to be made and then follow the instructions to make certain everything is properly setup.
A common feature is an antenna so you can use a remote command to change the lights while exterior the machine.
Step 6: Double cheque all connections. Brand sure all the connections are nice and snug and won't fall out easily.
Check that all lights are connected to the junction box and that all power and ground cables are secured properly.
Make sure that the junction box and control box are held up sturdily earlier driving to avoid tearing.
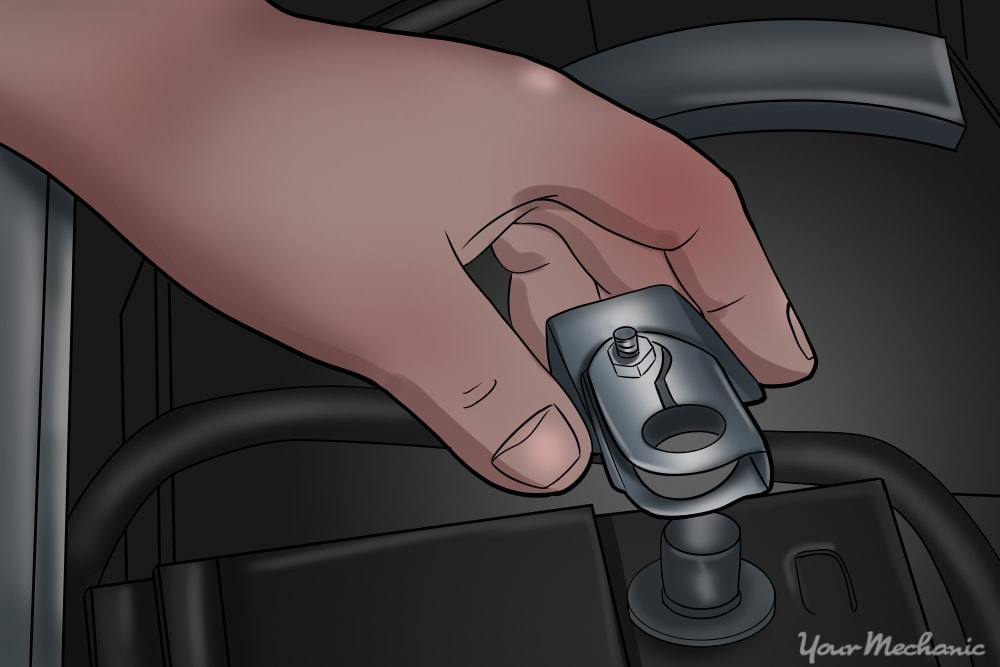
Step seven: Hook up the negative cable on the battery. This will restore electric power to the car.
Stride 8: Test the lights out. You can at present try your new lights. Exist certain to attempt all the different functions of the light to brand sure everything is working every bit intended.
With the LED kit installed, your machine is at present ready to be shown off to the world! Every bit mentioned before, it'due south really important that you lot test the kit before going through with the installation to make sure that it will piece of work. Completing this installation will give your auto a new expect that will probable turn other driver's heads at car shows and on the road.
When going through this installation, if you notice whatever glaring electrical bug with your machine, a certified technician from YourMechanic can come up to your habitation or office to diagnose and repair your car for y'all.
The statements expressed to a higher place are only for advisory purposes and should be independently verified. Please meet our terms of service for more details

Source: https://www.yourmechanic.com/article/how-to-add-neon-lights-to-your-car-by-spencer-cates
Posted by: danieltrum1952.blogspot.com
0 Response to "How To Install Neon Lights Under Car"
Post a Comment